A Lot of Learning
Often when things don’t go as well as expected, it’s very easy to focus on how little you know or how much more you have to learn. It’s harder to look back and see how much you do know and how quickly you’ve learnt.
Making a Pencil Case
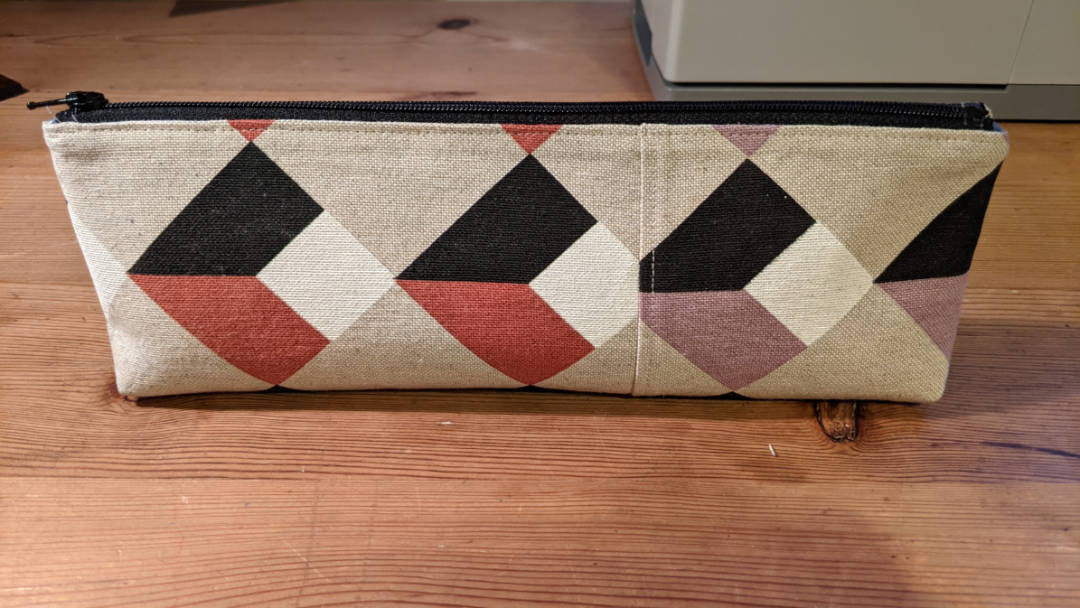
After finishing my machine covers, my next planned project was to make a small pencil case to keep my frequently used sewing tools in. My overlocker came with a plastic one for tweezers, a screwdriver and so on, so I thought a replacement for that would be a good project to use up some of my excess machine cover canvas. It would also involve sewing a zip and a lining, so a chance to learn some more techniques.
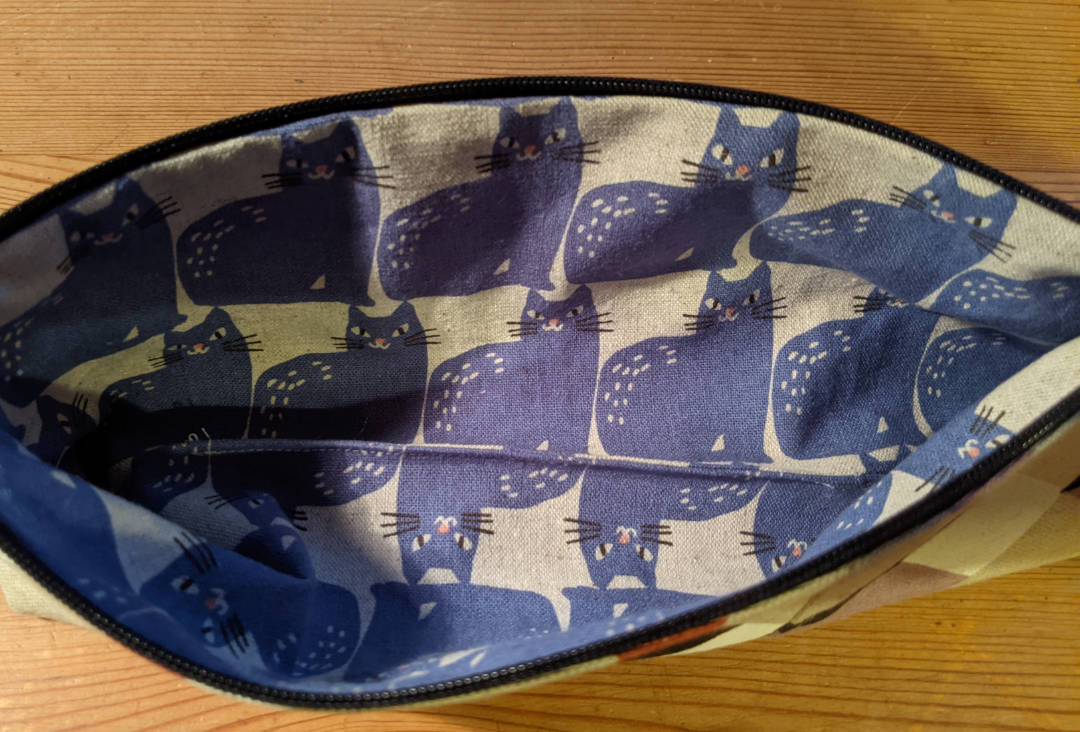
I used this pattern from Noodlehead. The pattern was a bit more interesting than I thought, since the case is made up from two blocks to allow for contrasting fabrics to be used, and also uses interfacing. So it had plenty of extra steps for me to get used to, and on the whole it went well.
Despite the success, there were still a few moments where I got annoyed with myself. The most frustrating part was attempting to match the pattern across the two pieces of fabric, but I also focused on some of the little errors that happened during construction, wobbly lines during sewing, etc.
What Went Well
I’m pleased with the result. I used an edge-stitching foot to help my top stitching lines be as neat as possible, and it really did make a difference. Inserting the zip wasn’t too bad either, nor was sewing the lining.
What I Can Improve
The outer fabric that ended up in the final product was the second (or third) attempt at cutting. There were a couple of problems I encountered:
- Matching patterns that aren’t symmetric is hard
- I failed to recognise that I needed to cut mirrored pieces for each side of the zip
- The zip was a bit wobbly
- This fabric frays like mad
- The fabric also shrinks hugely under steam
What I Learned
I took two main lessons from this, both concerning shrinkage. Firstly I didn’t prewash the fabric. My main reason for doing that was that, as a pencil case, I wasn’t planning on washing it. However, I didn’t consider the shrinkage under heat and steam during pressing. The second was a consequence of me inadvertently cutting one of the outer pieces along the grain, and the other across the grain. I didn’t mind the look of this, but after stitching the pieces together and pressing the seam, the two pieces shrank by noticeably different amounts.
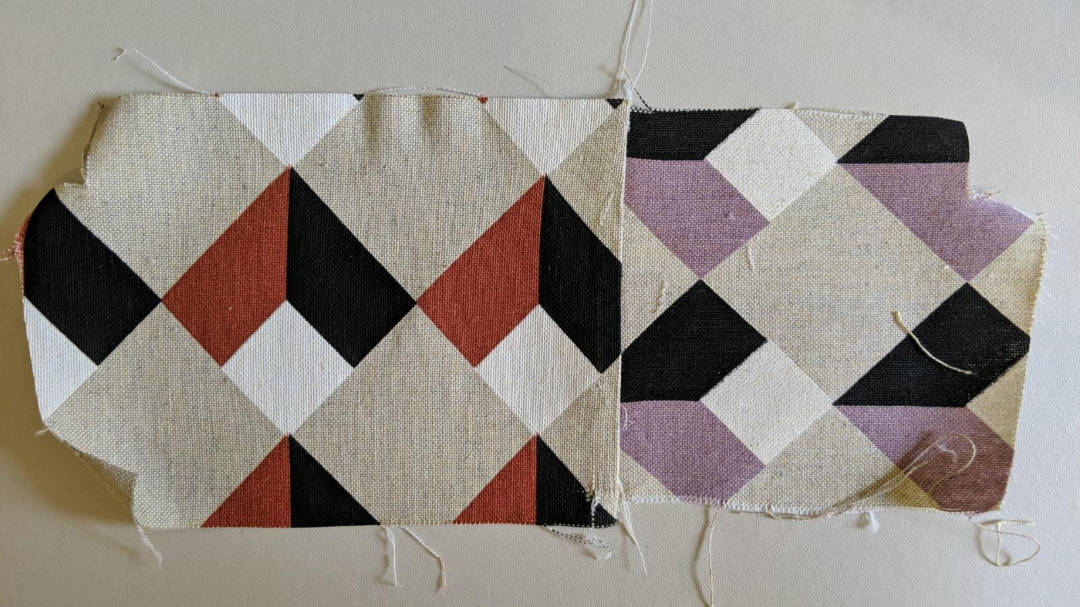
I decided to fix this by washing the fabric and cutting out some new pieces. Overlocking the cut edges was very useful here and minimised the fraying. My next attempt at pressing was much better.
Summary
Looking at my pencil case a few days after the magical moment of turning it the right way out, I’m pleased with my efforts. Previously I was more annoyed at how long it took and the silly mistakes and oversights I made. But just a small amount of reflection helps put things in their proper place:
- I started sewing at the beginning of the year
- This item includes two matched pieces of fabric, interfacing, top stitching, a zip and a lining
- It’s not only usable but looks great next to my machine covers
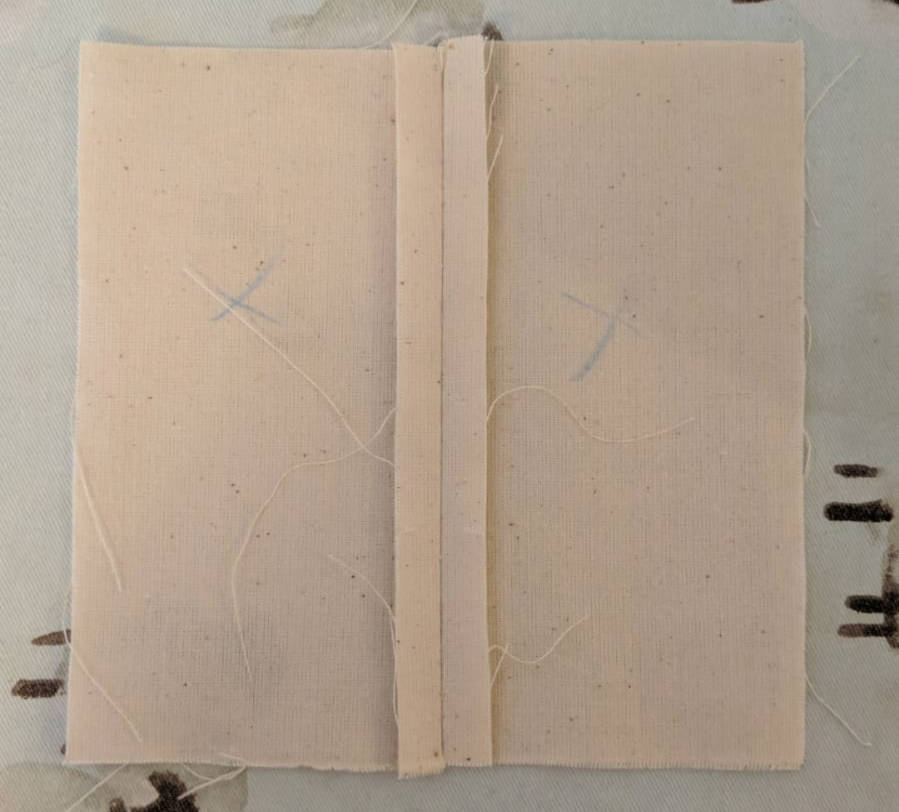
In addition to making this, I’ve also been practising hand sewing as part of an instructional book. I pressed that yesterday and was genuinely impressed at how neatly I had managed to put that little piece of fabric together. There is plenty to learn for sure, but when I look back at my efforts over the past few months I can allow myself to be proud of just how much I have accomplished. If I can keep it up, I wonder what I can manage by the end of the year?